Wardrobe Building Made Simple: Your Guide to Custom Storage Solutions
If you’ve ever struggled to fit clothes, shoes, and accessories into a cramped closet, a well‑planned wardrobe can change everything. Building a wardrobe isn’t reserved for seasoned carpenters – with the right steps you can create a piece that looks professional and works for your space.
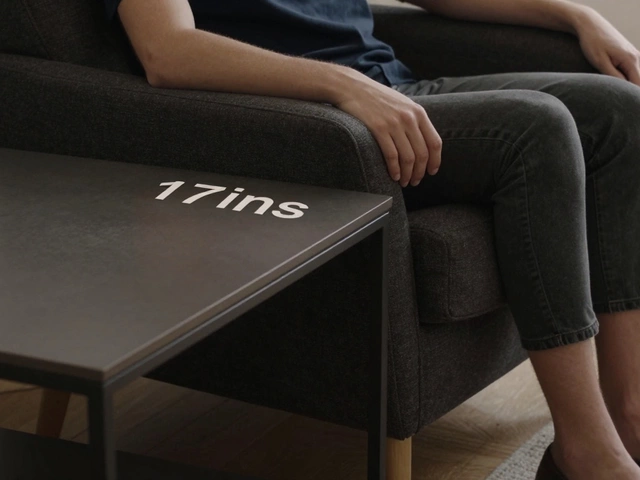
First, measure the room carefully. Note the floor‑to‑ceiling height, the width between walls, and any obstacles like radiators or windows. Write down the exact dimensions; the numbers will drive every decision from shelving depth to hanging space. A common mistake is assuming standard sizes will fit – always double‑check before buying timber or hardware.
Design Basics: Layout and Function
Start with a layout sketch. Decide how many hanging rods you need – a higher rod for long coats, a lower one for shirts. Add shelves for sweaters, bins for accessories, and a pull‑out drawer for under‑garments. Think about the flow: place frequently used items at eye level, store seasonal pieces higher up.
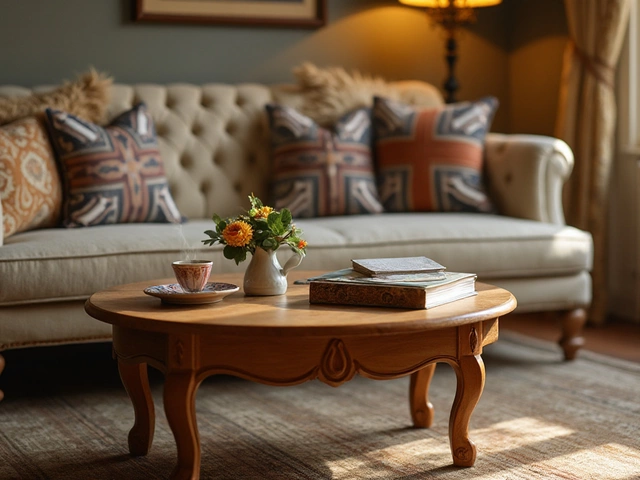
If you like a sleek look, go for flat‑panel doors that hide the interior. For a classic touch, consider double doors with glass inserts or an armoire‑style design. The choice affects hardware – concealed hinges work best with flush doors, while exposed knobs add a vintage feel.
Choosing Materials and Finishes
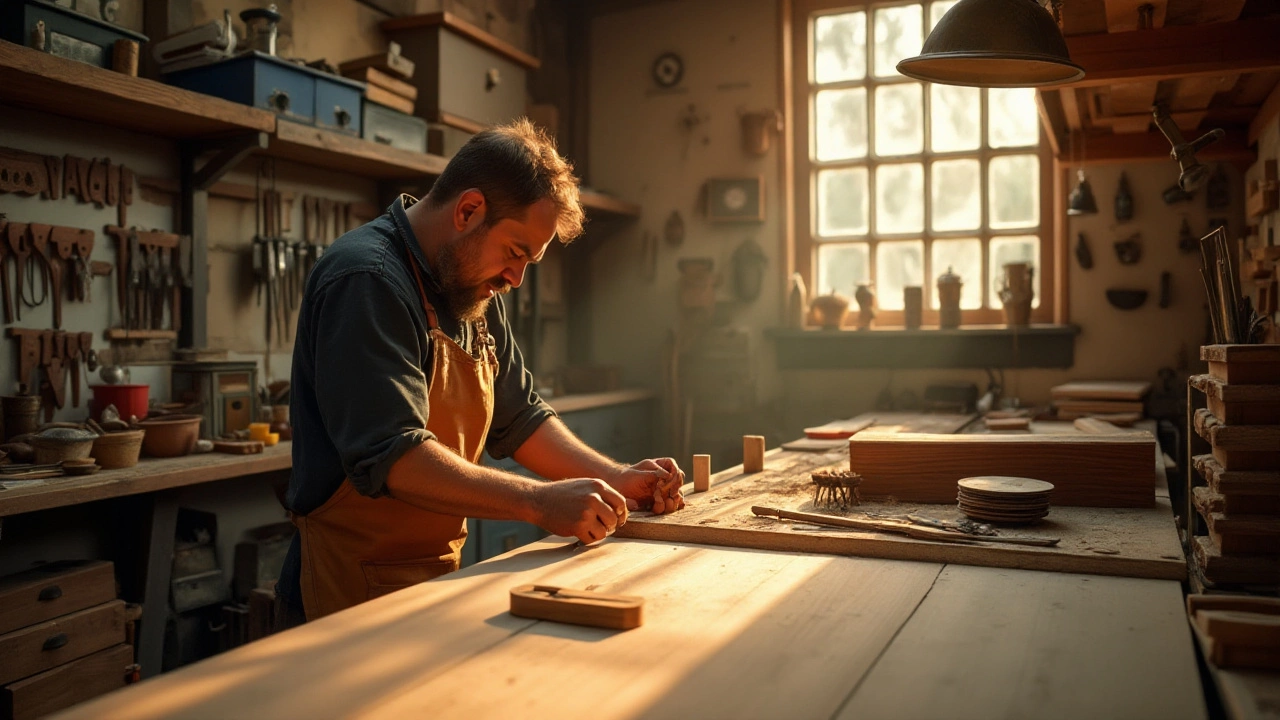
In the UK, pine and oak are popular for their durability and availability. Pine is budget‑friendly and easy to paint, while oak provides a natural grain that ages well. For a modern vibe, MDF with a high‑gloss paint works, but avoid it in damp areas like basements.
Finishing the wood protects it from humidity and wear. A simple oil‑based varnish penetrates the grain and brings out the colour, whereas a water‑based polyurethane gives a clear, hard surface. Apply two coats, sanding lightly between layers, for the best result.
Don’t forget hardware. Heavy‑duty hinges, soft‑close drawer slides, and quality handles make a big difference in everyday use. Brands based in the UK often supply fittings that match standard door thicknesses, saving you time on modifications.
Once you have a design, create a cut list. List each panel, its size, and the number of pieces. This prevents buying too much timber and helps you organise the build process. Cut the panels to size, then assemble the frame using pocket holes or dowels for a clean look.
Install the wardrobe in stages: frame first, then shelves, drawers, and finally doors. Use a level at every step – a crooked frame will cause doors to misalign later. Secure the unit to the wall studs, especially if you have tall doors, to keep it stable.
After installation, add a personal touch. Paint the doors your favourite colour, add decorative moulding, or line the interior with fabric for a boutique feel. Small details turn a functional wardrobe into a statement piece.
Building a wardrobe can feel like a big project, but breaking it down into measurement, design, material choice, and assembly keeps it manageable. With careful planning, you’ll end up with a custom storage solution that looks great and lasts for years.