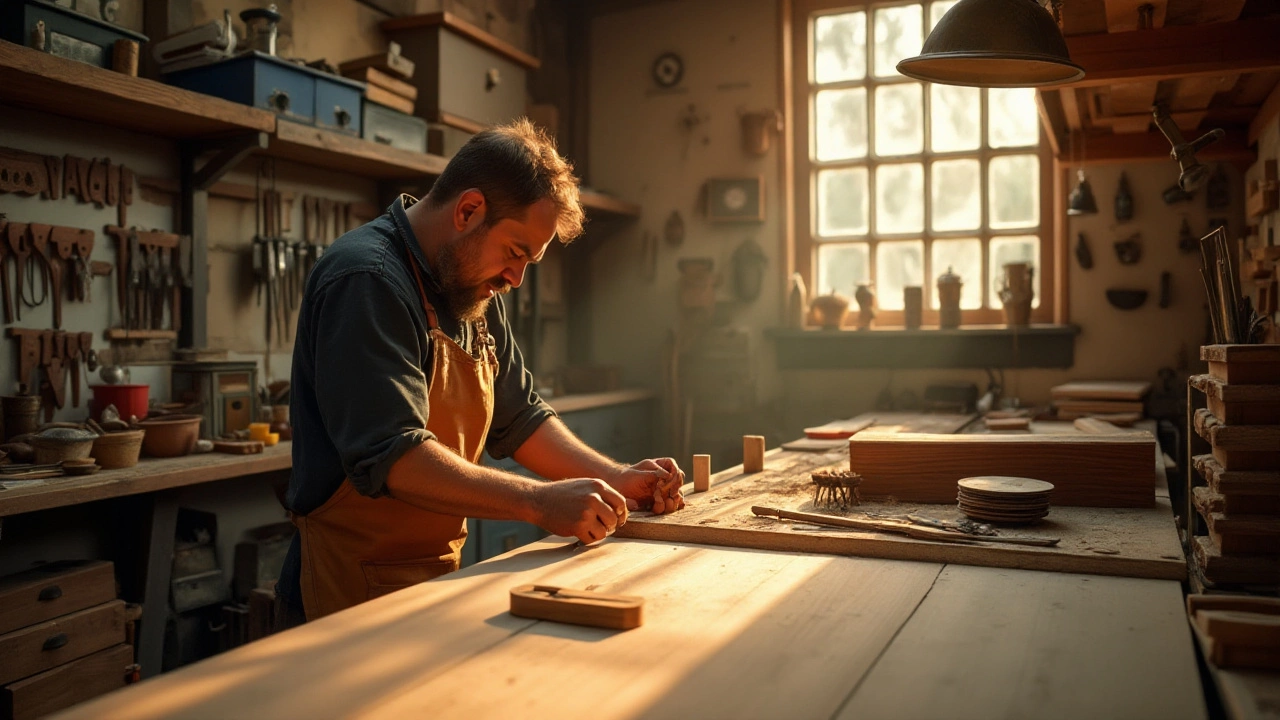
DIY Wardrobe: How to Build Your Own Custom Storage
Want a wardrobe that actually fits your clothes, shoes and the space you have? Doing it yourself saves money, lets you pick the exact style you like, and gives you the satisfaction of creating something useful. Below you’ll find the basics – from planning to finishing – so you can start right away.
Planning Your Wardrobe
First, measure the area where the wardrobe will live. Write down the height, width and depth, then decide how much hanging space you need versus shelves or drawers. Sketch a simple layout on paper or a free app; visualising the design helps you spot problems before you cut any wood.
Choose your material early. Plywood, MDF or solid timber each have pros and cons. Plywood is strong and tolerant of moisture, while MDF is cheap and smooth for painted finishes. If you want a rustic look, go for reclaimed timber – just make sure it’s dry and straight.
Step‑by‑Step Build Guide
1. Cut the panels. Use a circular saw or a table saw for straight cuts. Mark every piece with a pencil and tape it to keep track. Double‑check measurements before you cut – a 1 cm error adds up fast.
2. Assemble the frame. Lay the side panels on the floor, attach the top and bottom pieces with screws or pocket-hole brackets. A drill driver with a clutch prevents over‑tightening and splits.
3. Install shelves and hanging rods. Decide shelf height based on what you’ll store – clothes usually need 30–40 cm between shelves. Use a level for each rod; a slight tilt makes hanging clothes slide off.
4. Finish the surface. Sand any rough edges, then either paint, stain or apply a clear coat. Two thin coats with light sanding in between give a professional look without drips.
5. Fit the doors. If you want sliding doors, install a top rail and attach rollers. For hinged doors, a simple hinge set works – measure the gap so doors close snugly.
When everything is dry, move the wardrobe into place. Use rubber pads on the bottom to protect your floor and keep the unit level.
DIY wardrobes aren’t just about saving cash; they let you customize depth for oversized coats, add pull‑out drawers for accessories, or incorporate lighting for a boutique feel. Start small with a single‑door unit, then expand as you gain confidence.Remember, safety comes first. Wear eye protection, keep the work area tidy, and ask a friend for help with heavy panels. With the right planning and a bit of elbow grease, your new wardrobe will be the centerpiece of your bedroom and a proud reminder of what you can build yourself.