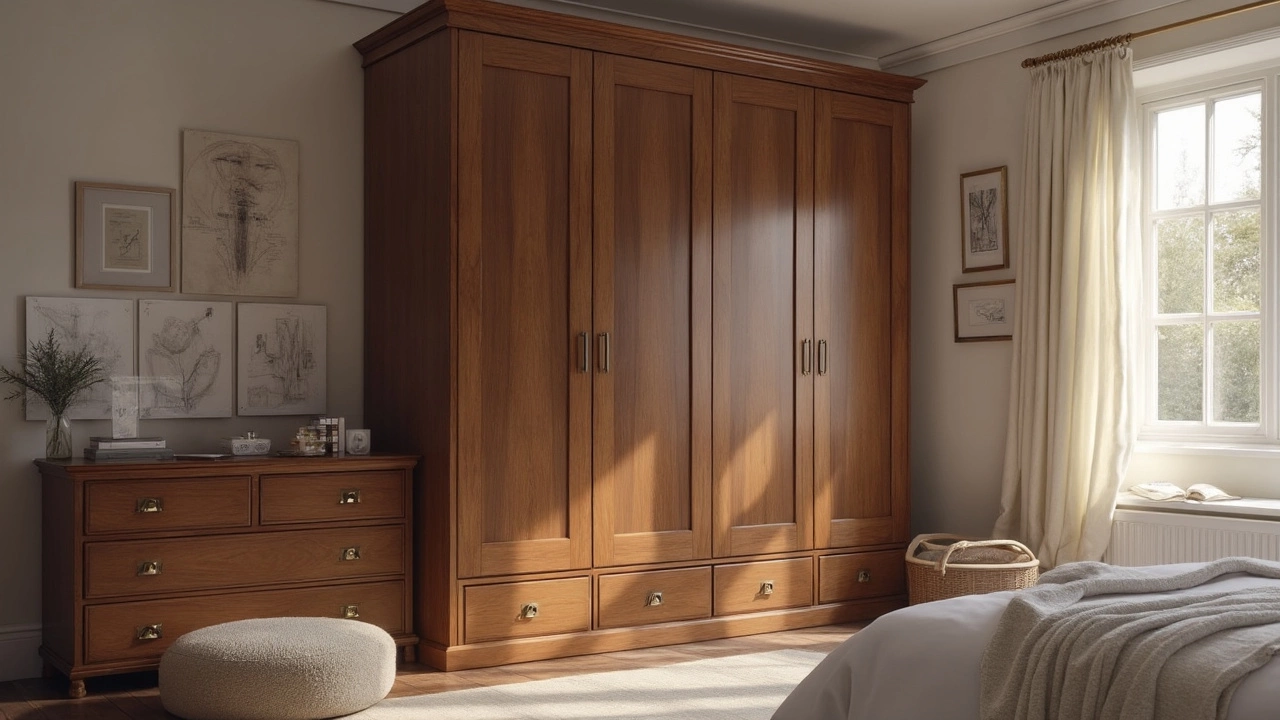
Wardrobe Installation: Step‑by‑Step Guide
Got a new wardrobe and want it in place without a headache? Whether you bought a ready‑made unit or a bespoke piece, the process is the same: measure, prep, fit, and finish. Follow these steps and you’ll have a sturdy, looking‑great wardrobe in a single day.
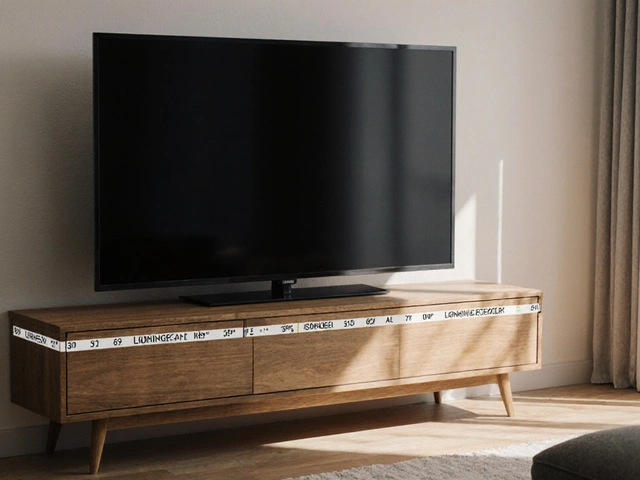
Measure and Plan
Start with a tape measure and a notepad. Jot down the height, width, and depth of the space where the wardrobe will sit. Remember to leave a 1‑2 cm gap on each side for expansion – wood swells with humidity, especially in UK homes.
Check the floor level. If the floor is uneven, place a shim under the base of the wardrobe until it’s level. Use a spirit level to double‑check; a level wardrobe keeps doors from sagging.
Next, look at the wall behind the unit. If you’re anchoring into plasterboard, find studs or use a wall anchor. Mark the stud locations with a pencil – these will hold the screws that keep the wardrobe upright.
Fit the Wardrobe
Gather the tools: drill, screwdriver, hammer, wall anchors, and a rubber mallet. Lay out all the panels on the floor and follow the manufacturer’s diagram. Most wardrobes come with pre‑drilled holes, so you won’t need to chase every screw.
Start by attaching the side panels to the bottom panel. Use the rubber mallet to tap pieces together gently; this prevents cracks. Once the frame is assembled, stand it up and line it with your wall marks.
Secure the back panel first – it adds rigidity. Then drill into the marked studs and insert heavy‑duty screws. For plasterboard, use toggle bolts that expand behind the wall.
Finally, install doors, handles, and any internal shelves. Check each door for clearance; they should open smoothly without rubbing the frame. Adjust the hinges if needed – most have a small screw to move them up, down, left, or right.
When everything is tight, give the wardrobe a little shake. No wobble? Great, you’re done. If you feel any give, add another shim or tighten a screw.
Cleaning up is quick: wipe down the surfaces, remove any pencil marks, and enjoy your new storage space. If you hit a snag – a stubborn stud or a warped panel – consider calling a local carpenter. A pro can save you time and ensure the wardrobe stays level for years.
That’s the whole process. Measure twice, fit once, and you’ll end up with a wardrobe that looks built‑in, even if it’s a freestanding unit. Happy installing!