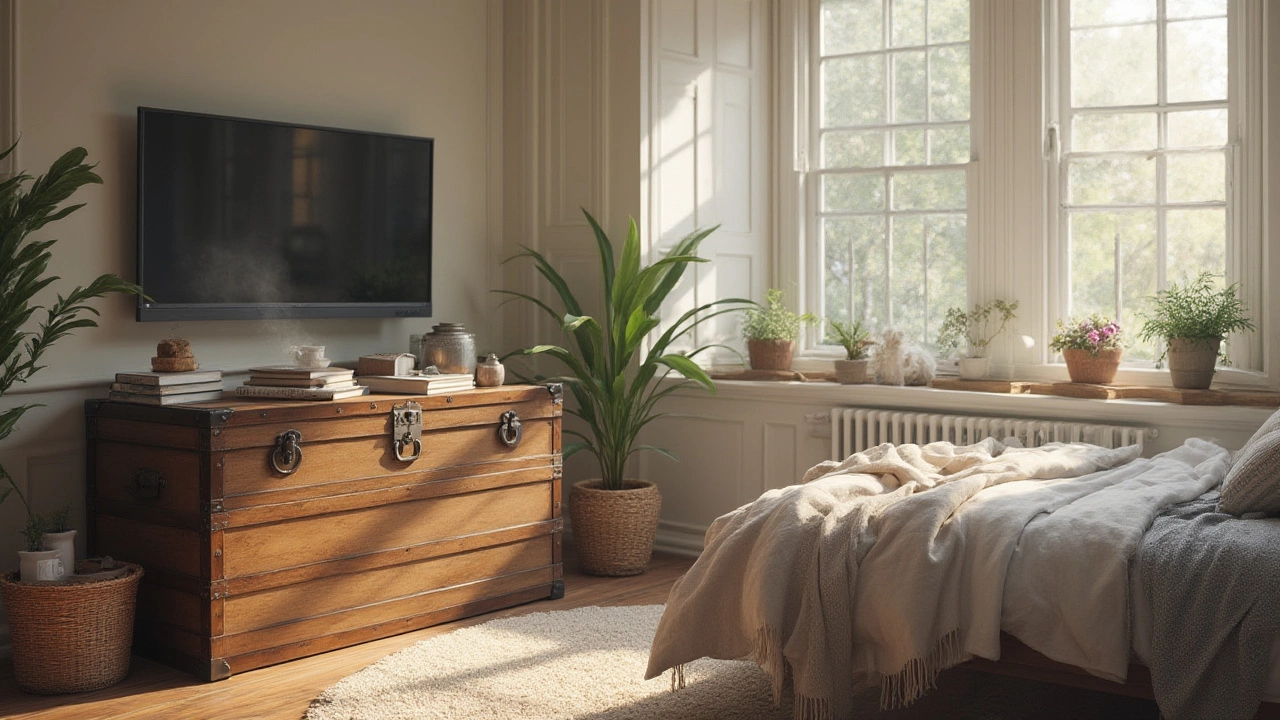
DIY TV Stand: Build an Affordable Custom TV Stand
Want a TV stand that fits your room and your wallet? Making your own is easier than you think. With a few basic tools and straight‑forward steps you can finish a sturdy piece in a weekend.
Choosing Materials and Design
Start by picking wood that matches your style and budget. Pine is cheap and easy to work with, while oak looks richer but costs more. Decide on a simple design – a flat shelf with side panels works for most TVs. Sketch your dimensions: measure your TV width, add a few inches on each side, and keep the height comfortable for viewing (usually 30‑40 cm from floor to screen center).
Step‑by‑Step Build Process
1. Gather tools. You’ll need a circular saw or handsaw, drill, screwdriver, sandpaper, and a level. A set of clamps makes assembly smoother.
2. Cut the pieces. Cut two side panels, a top shelf, a bottom shelf (optional), and a back panel if you want extra stability. Double‑check every cut against your sketch.
3. Assemble the frame. Drill pilot holes to avoid splitting the wood. Screw the top and bottom shelves to the sides, forming a box. If you added a back panel, attach it now with nails or screws.
4. Add support. For larger TVs, install a middle shelf or a metal bracket to hold the weight evenly. This prevents sagging over time.
5. Finish the surface. Sand all edges smooth, then apply paint, stain, or a clear coat. A thin coat of polyurethane protects against scratches and spills.
Let the finish dry completely before placing your TV. This usually takes a few hours, but check the product label.
Now you have a custom TV stand that matches your décor and saves money. If you like a bit of extra storage, add drawers or open shelves beneath the main surface. Use the same wood and finish for a seamless look.
Remember to keep cords organized. Drill small gaps in the back panel or attach cable clips so wires don’t become a tangled mess. A tidy setup not only looks better but also reduces fire risk.
Building a DIY TV stand gives you control over size, style, and price. You can finish it in a day or spread the work over a weekend. And the satisfaction of using something you made yourself is worth every screw.
Ready to start? Grab your measurements, head to the local timber store, and follow these steps. In no time you’ll have a solid TV stand that looks as good as any showroom piece.


