DIY Bookcase: Simple Steps to Build a Custom Shelf
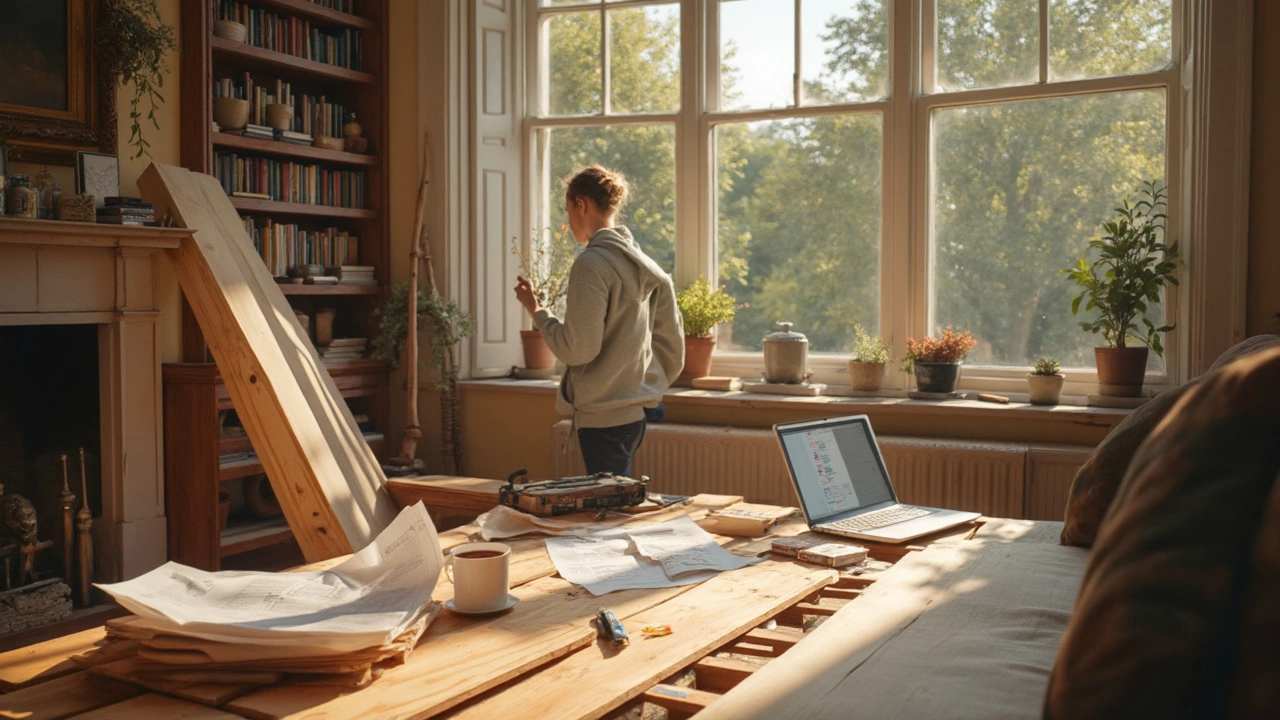
Ever looked at a bland wall and thought a bookcase would fix it? You don’t need to buy expensive furniture – building your own DIY bookcase is easier than most people think. With a few basic tools, some wood, and a clear plan, you can create a shelf that matches your room and your budget.
Plan, Measure, Cut
Start by measuring the space where the bookcase will sit. Write down the height, width, and depth you want. A common size is 80 cm high, 100 cm wide, and 30 cm deep, but adjust to fit your needs. Once you have the dimensions, sketch a simple diagram – two side panels, top and bottom shelves, and a few internal shelves.
Buy straight pine or plywood that’s at least 18 mm thick. Thick boards hold more weight and last longer. Cut the pieces to size using a circular saw or have the store cut them for you. Double‑check each cut; a small mistake can throw off the whole project.
Assemble the Frame
Lay the two side panels on the floor, back to back. Apply wood glue along the edges where the top, bottom, and middle shelves will sit. Clamp the shelves in place, then screw them through the side panels using 40 mm wood screws. Pre‑drill holes to avoid splitting the wood.
If you want extra strength, add corner brackets inside each joint. They’re cheap, easy to install, and give the bookcase a solid feel. Once the frame is secure, sand any rough edges and wipe away dust.
Finish the look with paint, stain, or a clear coat. Light colors brighten a room, while dark stains add a classy vibe. Let the finish dry fully before loading books.
And there you have it – a DIY bookcase that’s sturdy, stylish, and totally yours. You can even add doors, back panels, or decorative molding to make it uniquely yours. Grab your tools, follow these steps, and turn that empty wall into a display you’ll be proud of.